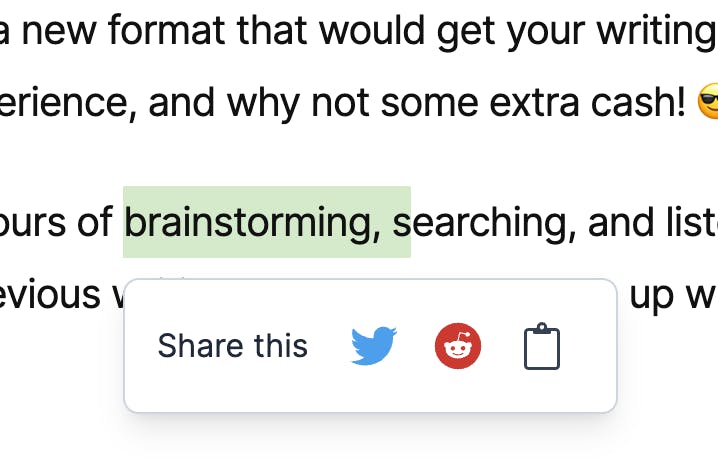
If you are an avid reader of content on websites like Medium.com or even here at Hashnode.com, you may have noticed this feature:

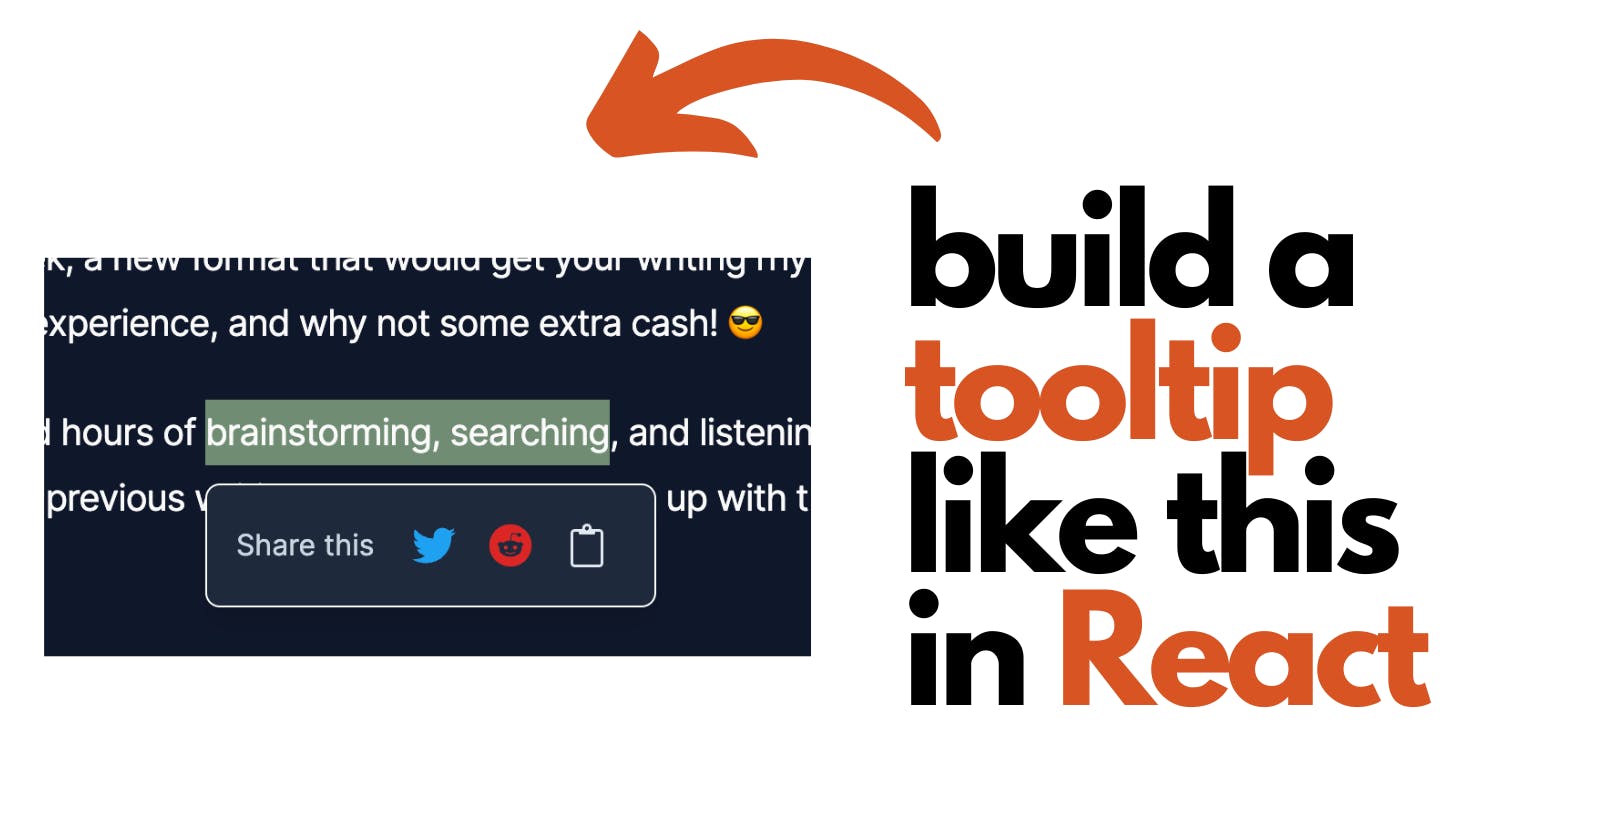
This is a tooltip that appears when you select a portion of text on these websites. Today, we will recreate this same feature in a React application using custom hooks.
Create the article view
Create a React application using any method you prefer. I personally favor the good-old create-react-app. Once you've set up the app, add this to you root component App
import logo from './logo.svg';
import './App.css';

function App() {
  return (
    <div>
      <div id="reader" style={{ maxWidth: '800px', margin: '80px auto' }}>
        <p>
          All engineers are good writers… of code. But I believe that in
          order to a become better engineer–you should improve your writing skills.
        </p>
        <p>
          From the dawn of times, people were writing. We have written using symbols,
          like in Ancient Egypt. And we have written using letters, like in Renaissance times.
          And all of us, got at least one writing assignment in school, without the “Why?”
          And yet, today writing is so underrated, that most people want to avoid it.
          But the truth is–you will have to write. Comments, documentation, design documents,
          presentations. Whether you like it or not. So why not become better at it?
        </p>
      </div>
    </div>
  );
}

export default App;
The p tags within our #reader container represents an article on the web. When we run this application, we will see the following content rendered in our browser:

Create the tooltip
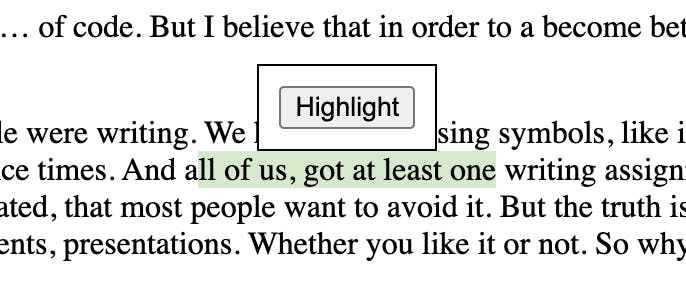
Add a tooltip component on the top of your #reader. This will contain the contents of our tooltip. For now, we will just add a simple <button> to highlight the selected text. We have added a position: absolute to the styles of this #tooltip element to position it anywhere we want.
function App() {
  return (
    <div>
      <div id="tooltip" style={{ padding: '10px', background: '#fff', position: 'absolute' }}>
        <button>Highlight</button>
      </div>
      <div id="reader" style={{ maxWidth: '800px', margin: '80px auto' }}>
       .......
In the browser, it looks like this:

To hide the tooltip in the beginning, add a display: none to the styles.
<div id="tooltip" style={{ display: 'none', padding: '10px', background: '#fff', position: 'absolute' }}>
     <button>Highlight</button>
</div>
Add refs to reader and tooltip elements.
To display the tooltip on the selected text, we need to perform some DOM manipulation. To do this, we must store references to our #reader and #tooltip divs. To achieve this, we will create two states: readerRef and tooltipRef.
import { useState } from "react";

function App() {
  const [readerRef, setReaderRef] = useState(null);
  const [tooltipRef, setTooltipRef] = useState(null);

  return (
    <div>
      <div
        ref={setTooltipRef}
        id="tooltip"
        style={{ padding: '10px', background: '#fff', position: 'absolute', border: '1px solid #000' }}
      >
        <button>Highlight</button>
      </div>
      <div
        ref={setReaderRef}
        id="reader"
        style={{ maxWidth: '800px', margin: '80px auto' }}
      >
        <p>
          All engineers are good writers… of code. But I believe that in
          order to a become better engineer–you should improve your writing skills.
        </p>
        <p>
          From the dawn of times, people were writing. We have written using symbols,
          like in Ancient Egypt. And we have written using letters, like in Renaissance times.
          And all of us, got at least one writing assignment in school, without the “Why?”
          And yet, today writing is so underrated, that most people want to avoid it.
          But the truth is–you will have to write. Comments, documentation, design documents,
          presentations. Whether you like it or not. So why not become better at it?
        </p>
      </div>
    </div>
  );
}

export default App;
Create a useSelection custom hook.
It's time to add some interactivity to this app. Let's create a custom hook useSelection which will monitor the document for any selection and will return the selection to the App component. This custom hook will take two arguments, a reference to the #reader and to the #tooltip
We will also create a state selection in this hook to store the selected text.
import { useState } from "react";

export function useSelection(readerRef, tooltipRef) {
    const [selection, setSelection] = useState('');
}
Next, let's create a handler function that will obtain the current selection from the HTML document. To do this, we will use the document.getSelection() API. This returns an object of type Selection, and it has many properties representing the specifics of the selection, such as the location of the selection in the DOM, the selected text, and much more. In this case, we are interested in the Range of the selection, which we can obtain by calling getRangeAt(0) on the Selection object. Here, 0 represents the index of the selection from which we want to get the range.
import { useState } from "react";

export function useSelection(readerRef, tooltipRef) {
    const [selection, setSelection] = useState('');

    function handler() {
        // get the selection
        const selectionObject = document.getSelection();

        if (selectionObject && selectionObject.anchorOffset !== selectionObject.focusOffset) {
            // get the range
            const range = selectionObject.getRangeAt(0);
        }
    }
}
The selection object has two additional properties: anchorOffset, which represents the starting location of the selection, and focusOffset, which represents the end location of the selection. In the code above, we are checking for a condition where these values should not be equal because that would indicate that the selection is empty.
Now, we have to get the position of the selection in the DOM because that's where we will place our tooltip. To get those coordinates, we will call getBoundedClientRect() on the Range object. This returns an object of DOMRect type. A DOMRect describes the size and position of a rectangle. When we call this method on Range we get the position of the virtual rectangle that bounds our selection. DOMRect has six main properties: top, left, bottom, right, width and height.
import { useState } from "react";

export function useSelection(readerRef, tooltipRef) {
    const [selection, setSelection] = useState('');

    function handler() {
        // get the selection
        const selectionObject = document.getSelection();

        if (selectionObject && selectionObject.anchorOffset !== selectionObject.focusOffset) {
            // get the range
            const range = selectionObject.getRangeAt(0);
            const boundedRect = range.getBoundingClientRect();
        }
    }
}
We will also get the dimensions like width and height of our tooltip using the method. We need all these values to calculate the current position of the tooltip.
import { useState } from "react";

export function useSelection(readerRef, tooltipRef) {
    const [selection, setSelection] = useState('');

    function handler() {
        // get the selection
        const selectionObject = document.getSelection();

        if (selectionObject && selectionObject.anchorOffset !== selectionObject.focusOffset) {
            // get the range
            const range = selectionObject.getRangeAt(0);
            const selectionDeimensions = range.getBoundingClientRect();
            setSelection(selectionObject.toString());
            if (tooltipRef) {
                tooltipRef.style.display = 'block';
                const tooltipDimensions = tooltipRef.getBoundingClientRect();
                tooltipRef.style.top = `${selectionDimensions.top - tooltipDimensions.height}px`;
                tooltipRef.style.left = `${selectionDimensions.left + ((boundedRect.right - boundedRect.left)/2) - (tooltipDimensions.width/2)}px`;
            }
        }
    }
}
In the above code, when tooltipRef exists, we are changing its display from none to block and set its dimensions according the the DOMRect of the selectioObj.
We can attach this handler to the mouseup event on the reader because, when you select any text using the mouse, mouseup event fires in the end.
Also, Let's create another function to reset the selection. We will call this function when selection is empty. The final code for our custom hook will look like this:
import { useEffect, useState } from "react";

export function useSelection(readerRef, tooltipRef) {
    const [selection, setSelection] = useState('');

    const resetSelection = () => {
        setSelection(null);
        if (tooltipRef) {
            tooltipRef.style.display = 'none';
        }
    }

    const handler = () => {
        // get the selection
        const selectionObject = document.getSelection();

        if (selectionObject && selectionObject.anchorOffset !== selectionObject.focusOffset) {
            // get the range
            const range = selectionObject.getRangeAt(0);
            const selectionDeimensions = range.getBoundingClientRect();
            setSelection(selectionObject.toString());
            if (tooltipRef) {
                tooltipRef.style.display = 'block';
                const tooltipDimensions = tooltipRef.getBoundingClientRect();
                tooltipRef.style.top = `${selectionDeimensions.top - tooltipDimensions.height}px`;
                tooltipRef.style.left = `${selectionDeimensions.left + ((selectionDeimensions.right - selectionDeimensions.left)/2) - (tooltipDimensions.width/2)}px`;
            }
        } else {
            resetSelection();
        }
    }

    useEffect(() => {
        if (readerRef) {
            readerRef.addEventListener('mouseup', handler);
        }

        return () => {
            // cleanup
            removeEventListener('mouseup', handler);
        }
    }, [tooltipRef, readerRef]);

    return { selection }
}
Let's use this hook in the App component:
import { useState } from "react";
import { useSelection } from "./useSelection";

function App() {
  const [readerRef, setReaderRef] = useState(null);
  const [tooltipRef, setTooltipRef] = useState(null);

  const { selection } = useSelection(readerRef, tooltipRef);

  return (
    <div>
      <div
        ref={setTooltipRef}
        id="tooltip"
        style={{ padding: '10px', background: '#fff', position: 'absolute', border: '1px solid #000' }}
      >
        <button>Highlight</button>
      </div>
      <div
        ref={setReaderRef}
        id="reader"
        style={{ maxWidth: '800px', margin: '80px auto' }}
      >
        <p>
          All engineers are good writers… of code. But I believe that in
          order to a become better engineer–you should improve your writing skills.
        </p>
        <p>
          From the dawn of times, people were writing. We have written using symbols,
          like in Ancient Egypt. And we have written using letters, like in Renaissance times.
          And all of us, got at least one writing assignment in school, without the “Why?”
          And yet, today writing is so underrated, that most people want to avoid it.
          But the truth is–you will have to write. Comments, documentation, design documents,
          presentations. Whether you like it or not. So why not become better at it?
        </p>
      </div>
    </div>
  );
}

export default App;
Now, when this hook runs for the first time it will attach a handler to the mouseup event. This handler gets the selection and its dimensions to attach the tooltip at a pixel-perfect location.

We can use the output selection of the useSelection hook to do anything we want with it. Examples
Attach inline comments to the selection and send it to a database.
Highlight the selected text.
Anything you want!
Follow me on twitter to stay in touch. You can find my writings at devshekhawat.com. Also, subscribe to the newsletter here to get daily updates on 💻 web development, ☀️ life and 📚 productivity.

